Floating Shelf
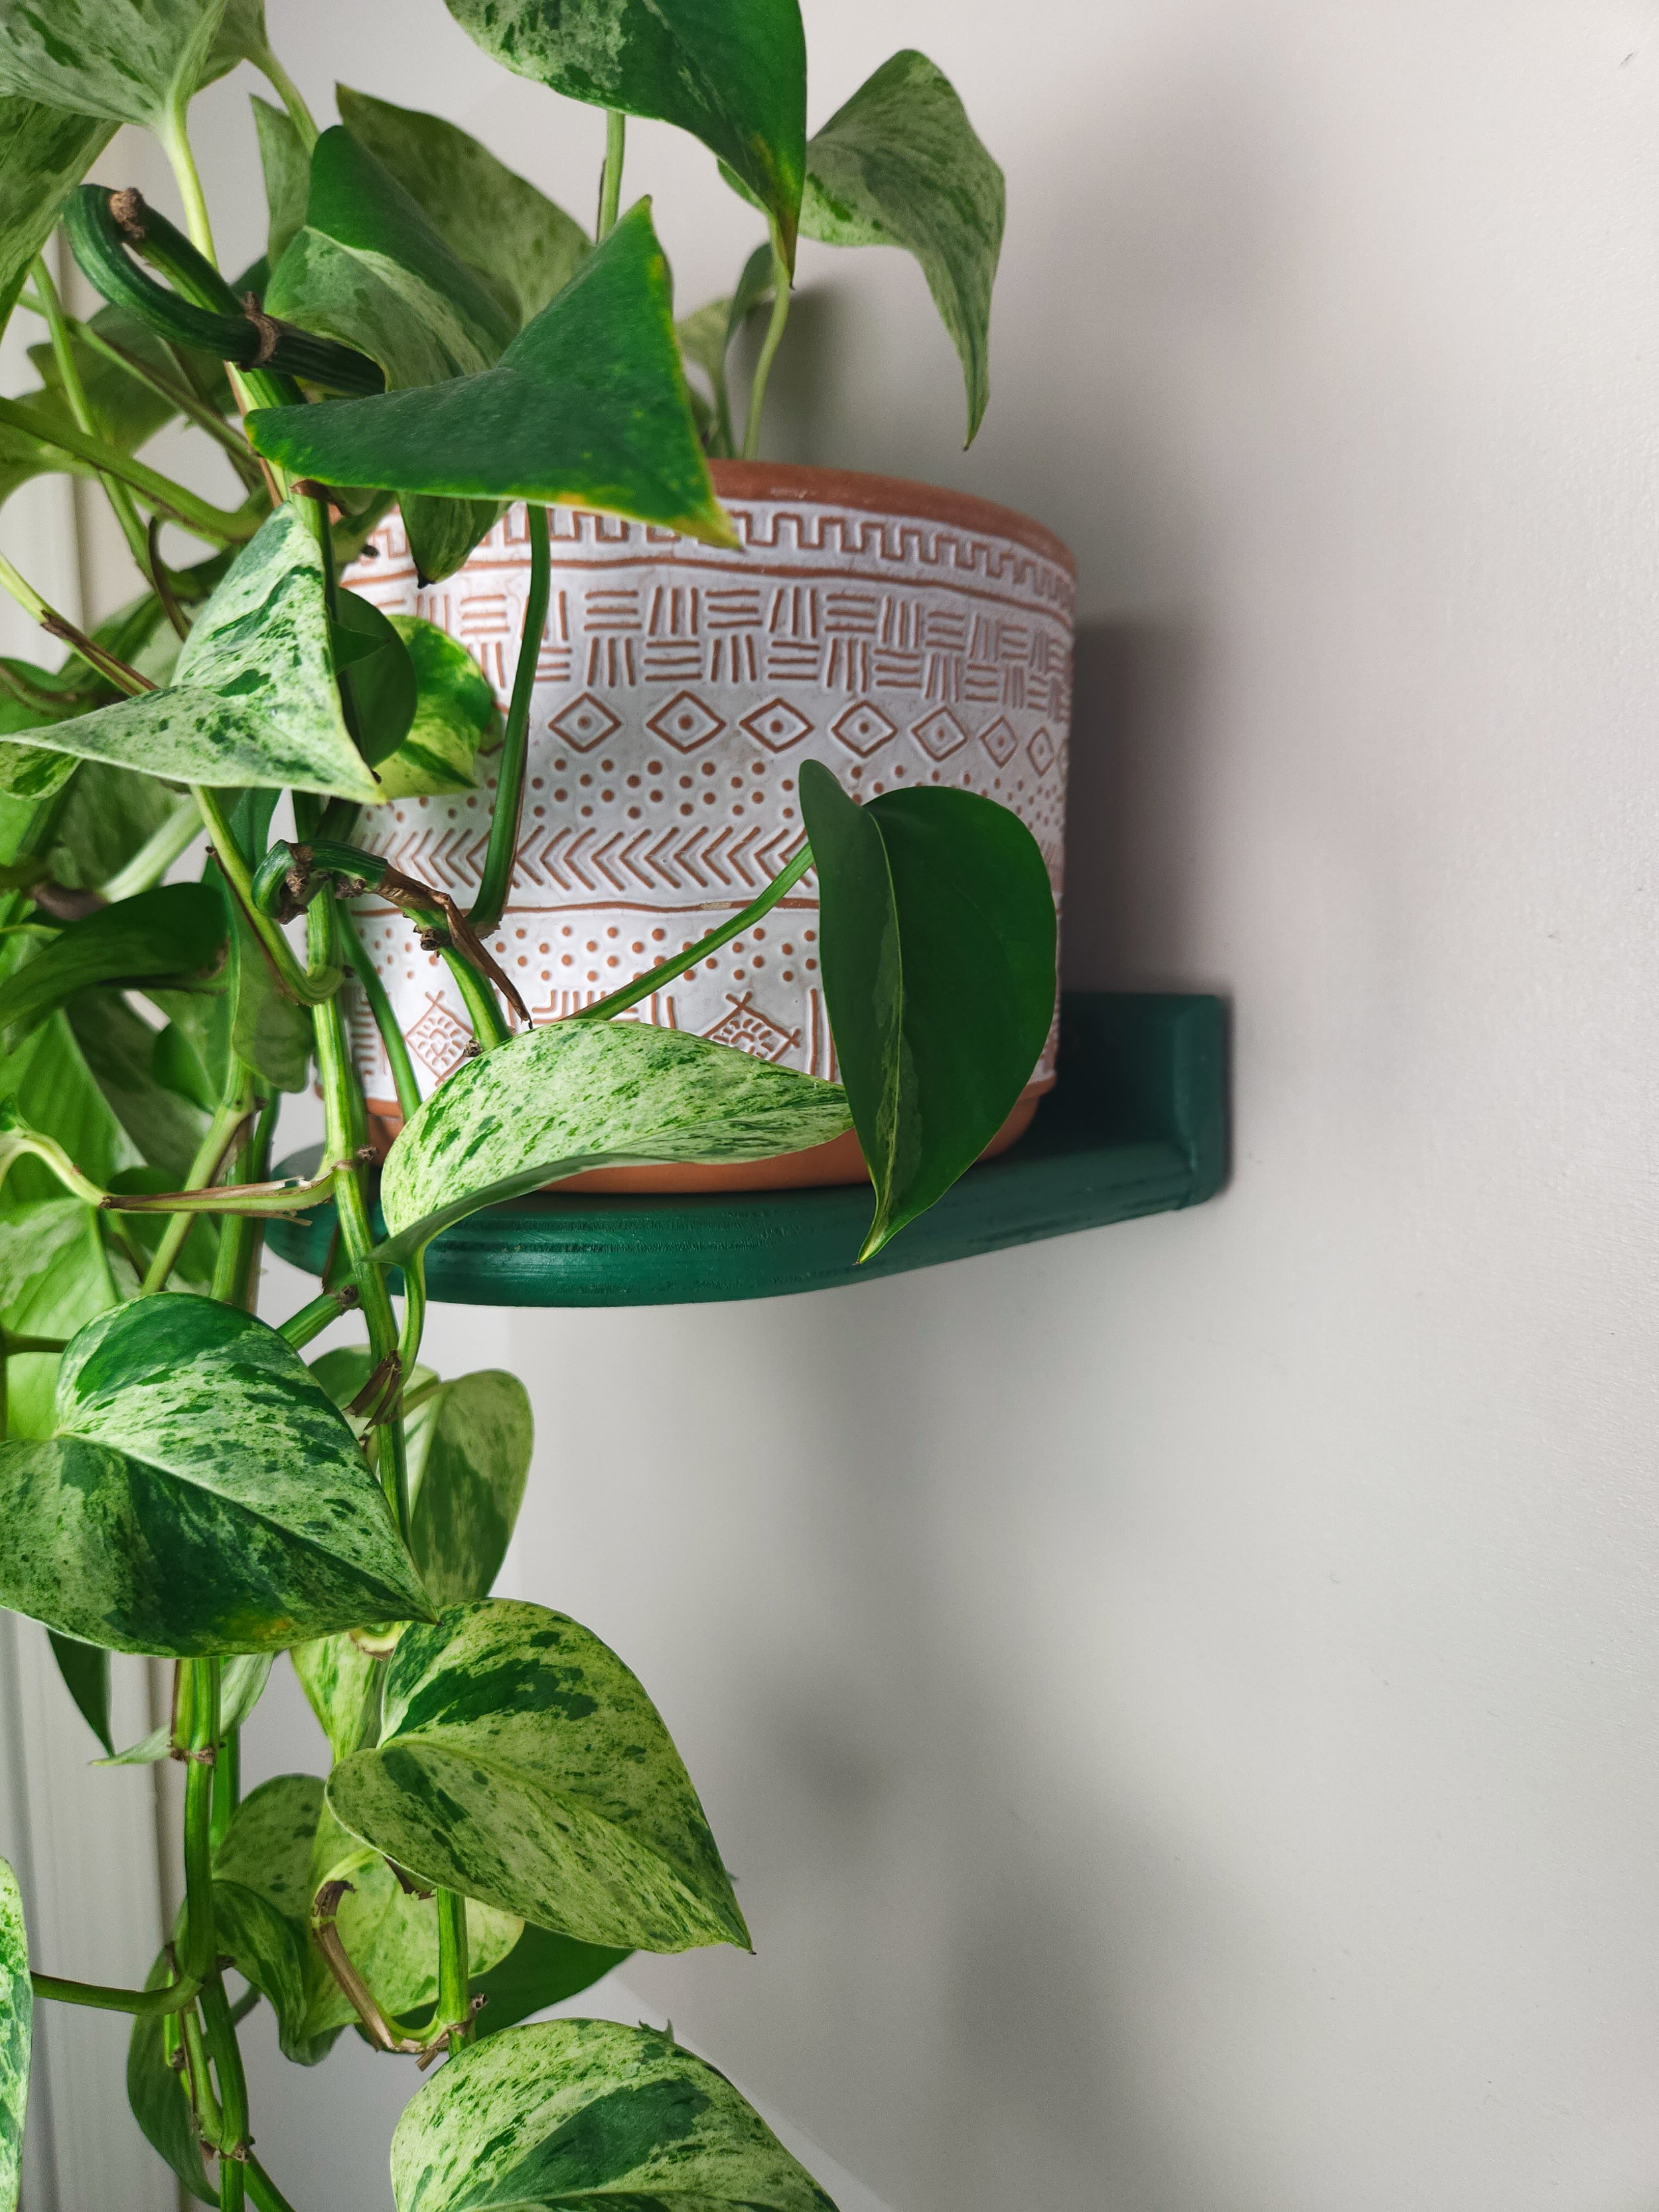
This shelf is designed for light decorative use—ideal for small to medium sized plants, art pieces, candles, or framed photos. Avoid placing heavy or unevenly distributed loads.
Important Notes
Maximum recommended load: 15 lbs (not tested beyond this).
Actual capacity may vary depending on wall type, anchor strength, and installation quality.
Be mindful of plant weight after watering—moisture adds extra load.
Always use suitable anchors for your wall type.
A drill may be needed to create pilot holes when using drywall anchors or harder wall materials.
Installation
Tools Needed
Drill or screwdriver
Level
Stud finder
Pencil
1. Choose your location
Use a stud finder to locate wall studs and mark their position. If no stud is available where you’d like to hang your shelf, plan to use drywall anchors.
2. Mark the first hole
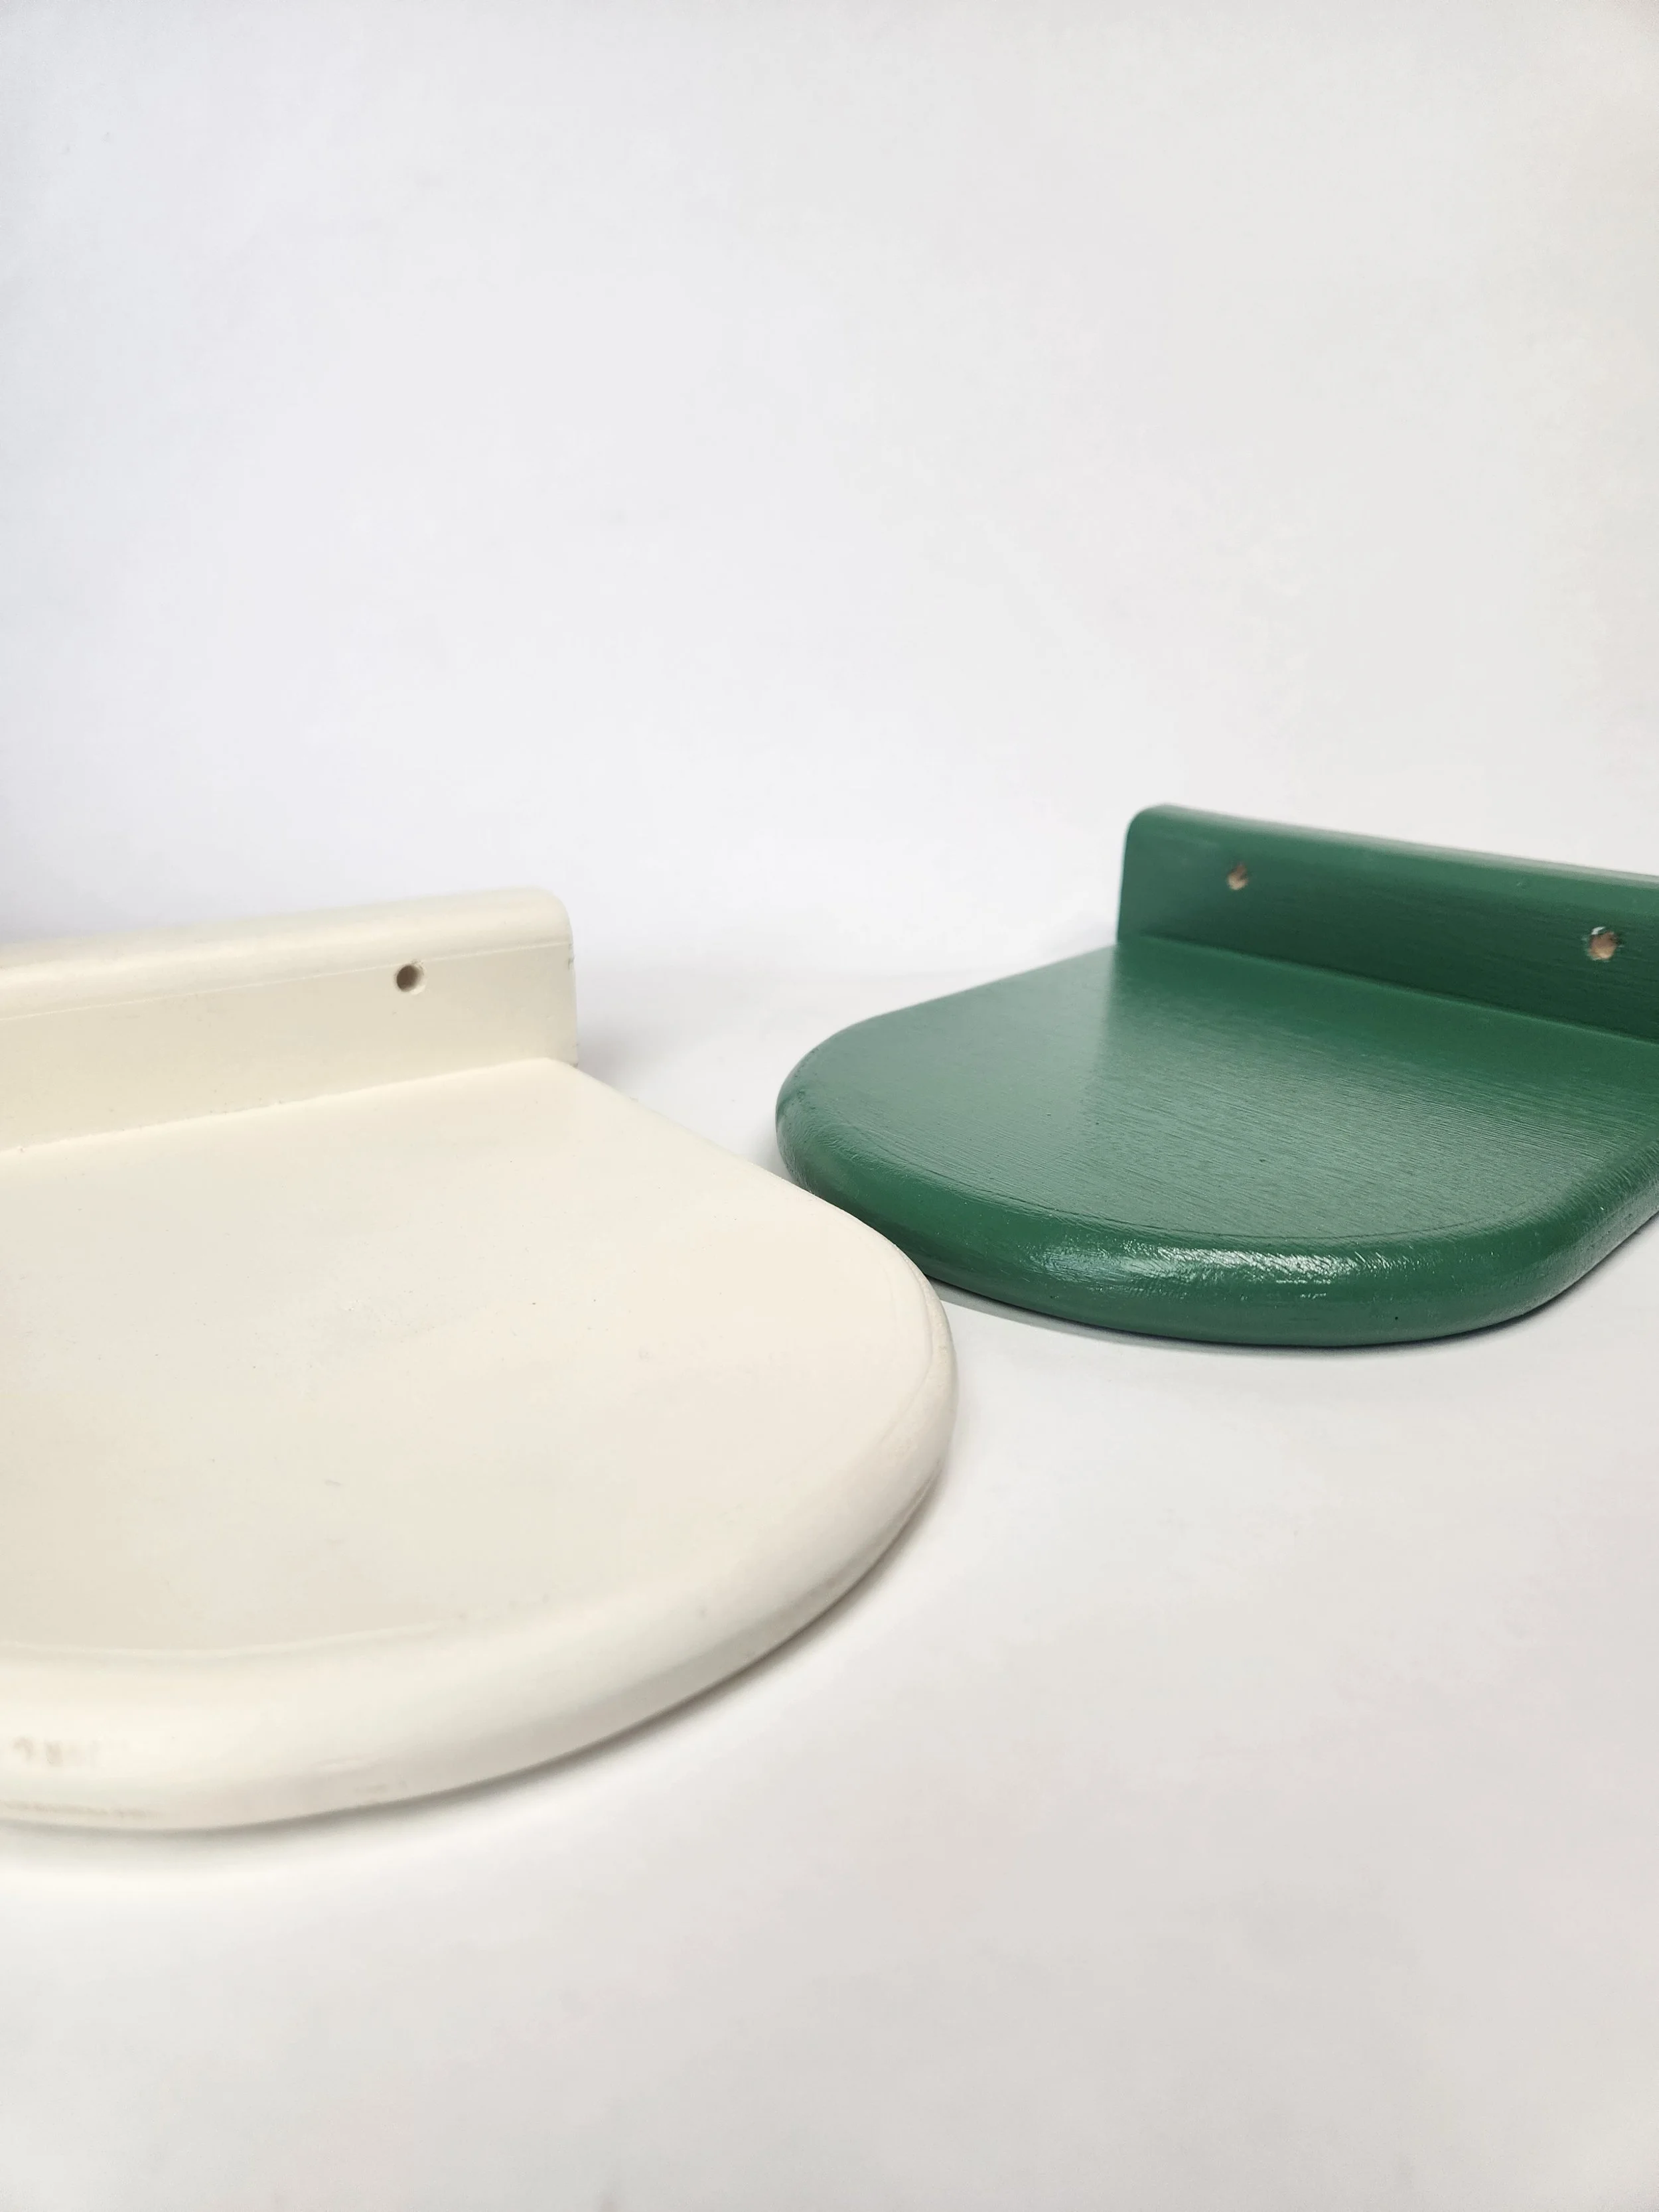
Hold the shelf against the wall in your desired position. Use one of the shelf’s pre-drilled mounting holes as a guide and mark the spot with a pencil.
3. Install first anchor (if needed)
If the first hole is not aligned with a stud, insert a drywall anchor at your mark according to the manufacturer’s instructions.
4. Attach the shelf loosely
Using a screw, secure the first side of the shelf into the wall (or anchor). Leave it slightly loose so that you can rotate and adjust the shelf, ensuring it is level.
5. Level and mark the second hole
Place a level on top of the shelf and adjust until it is straight and even. Once level, use the second pre-drilled hole in the shelf as a guide to mark the spot for the second screw or anchor on the wall.
6. Install second anchor or screw
Insert the second anchor if needed, then tighten both screws until the shelf is secure.
7. Final check
Ensure the shelf is level and firmly attached before placing items on it.
Care & Maintenance
Dust regularly with a dry or slightly damp cloth.
Avoid harsh cleaners or abrasive pads that could damage the finish.
Wipe spills immediately, especially from plant water or oils
Check stability periodically, tightening screws as needed.
Environmental Considerations
Avoid prolonged exposure to direct sunlight or high humidity to prevent warping or discoloration.
Not intended for outdoor use unless specified.